The Keane Clay
In your box you will find 2 Packs of clay- Keane Midfire 33. This is plenty to make 4 small pots or 2 large pots and one of our most popular Australian made clays. It is smooth, easy and beautiful as a finished product.
Here you will find all the online tutorials, guides and recommendations you need to get started with your Keane Klay Kit.
These 5-10min classes are simple to follow videos that can be followed at home that demonstrate how to
In your box you will find 2 Packs of clay- Keane Midfire 33. This is plenty to make 4 small pots or 2 large pots and one of our most popular Australian made clays. It is smooth, easy and beautiful as a finished product.
The warmth of this raw clay changes during the drying process to become a pale pinkish tone. When fired to glaze temperature, it reveals its true beauty by turning a sandstone tone with small iron fleck. Midfire 33 is one of our most loved Keane classics.
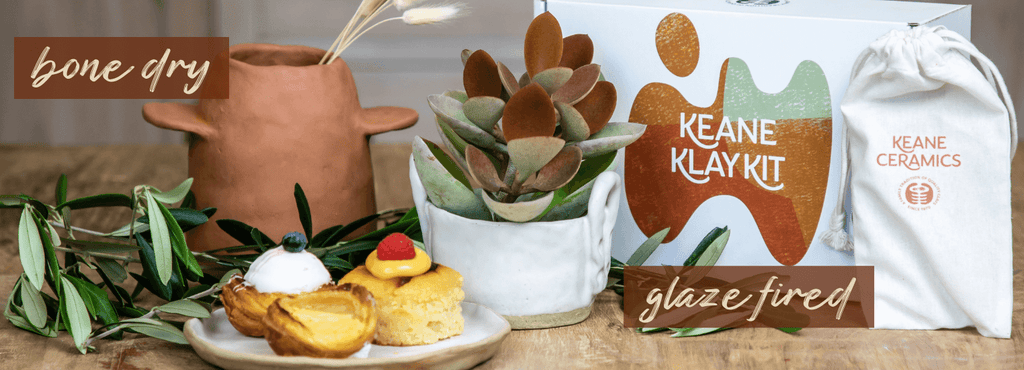
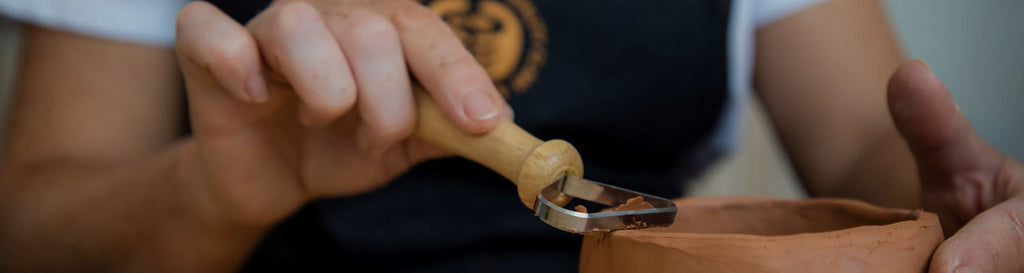
Once you’ve made your creation, it has to be put aside to dry. This is known as BONE DRY stage. This is different from “leather hard” which is a part of the sculpting process. Place your creation in a protected area from drafts and lightly cover with plastic or fabric to protect the object. The drying can take between 24- 72 hours depending on temperature. Good news is you cannot dry out the clay out too much. So if it stays aside for a while, you will still be able to bisque fire at any stage. Drying to ‘bone dry’ prevents your object from cracking or breaking in the firing process.
TIP: If you hold your piece to your cheek and its still cold, this means your object is not dry. It should feel like room temperature.
You have the option to let a sculptural piece air dry if it has no functional use however we always recommend you Bisque fire your pot. This turns your pot from clay to ceramic. Bisque firing will allow you to paint, decorate and use the pot for non-functional display.
To make it food safe, functional with the ultimate finish we suggest applying glaze after your bisque fire. We will have AIR DRY KITS available here soon.
With so many different varieties, colours and ways to glaze, we have left this part up to you to choose if you would like to glaze your creation once it has been bisque fired. If you have used the ceramic tissue, we recommend a CLEAR GLAZE
If you didn’t want to glaze yourself, most kiln services also offer glazing as a part of their firing process.
We have a directory of colleagues, studios and public kiln services that we recommend to take your new creation to for both bisque and final glaze firing. Some offer glazing services as well. They will ask you want temperature your creation needs to be fired at.
Mid fire 33 is fired at 1000c for Bisque Fire (first fire) and 1200c – 1250 max for the final firing.
Unfortunately firing clay is not suited to any domestic or home ovens to fires due to the heat range. Firing needs to starts at 1000c

By now, the love for pottery has sparked your inspiration and you want more! You are definitely in the right place as you can purchase as much top up clay as you like but visiting our CLAY SHOP
Finally we would love to see your creations. Post to your social media and tag us at @keaneceramics with #madewithkeane to be featured on our page.